写在前面
之前了解了即时通讯设计的基本方案,感觉蛮有意思,但一直没有实现;这两天参照网上的教程实现了一些小功能,此项目未经严格测试,仅供娱乐,切勿当真!。
技术架构
主要技术:vue+springboot+mybatis-plus
网上教程是前后端不分离项目,我还是想做前后端分离的,之后可以考虑集成到其他项目中去。
交互设计
数据库设计
用户表:
记录用户基本信息,这里给出必要的几个字段即可

消息表:
主要用于记录用户之间发送的消息,其中包括,发送者id,接收者id,发送内容等

接口设计
因为即时通讯系统需要前后端互相配合,因此接口的设计和传输对象的设计比较重要,这里给出po和vo的设计
持久化对象:
- 用户对象
1
2
3
4
5
6
7
8
9
10
11
12
13
14
15
16
17
18
19
20
21
22
23
24
25
26
27
28
29
30
31
32
33
34
35
36
37
38
39
40
41
| package com.wolfman.wolfchat.po;
import com.baomidou.mybatisplus.annotation.IdType;
import com.baomidou.mybatisplus.annotation.TableId;
import com.baomidou.mybatisplus.annotation.TableName;
import com.baomidou.mybatisplus.extension.activerecord.Model;
import lombok.Data;
import lombok.EqualsAndHashCode;
@Data
@TableName("user")
@EqualsAndHashCode(callSuper = true)
public class User extends Model<User> {
private static final long serialVersionUID = 1L;
@TableId(value = "id", type = IdType.AUTO)
private Integer id;
private String username;
private String password;
private String avatar;
}
|
- 消息对象
1
2
3
4
5
6
7
8
9
10
11
12
13
14
15
16
17
18
19
20
21
22
23
24
25
26
27
28
29
30
31
32
33
34
35
36
37
38
39
40
41
42
43
44
45
46
47
48
49
50
51
52
53
54
55
56
57
58
59
60
61
62
63
64
65
66
67
| package com.wolfman.wolfchat.po;
import com.baomidou.mybatisplus.annotation.IdType;
import com.baomidou.mybatisplus.annotation.TableField;
import com.baomidou.mybatisplus.annotation.TableId;
import com.baomidou.mybatisplus.annotation.TableName;
import com.baomidou.mybatisplus.extension.activerecord.Model;
import lombok.Data;
import lombok.EqualsAndHashCode;
import java.util.Date;
@Data
@TableName("message")
@EqualsAndHashCode(callSuper = true)
public class Message extends Model<Message> {
private static final long serialVersionUID = 1L;
@TableId(value = "id", type = IdType.AUTO)
private Integer id;
@TableField("fromUserId")
private Integer fromUserId;
@TableField("toUserId")
private Integer toUserId;
private String message;
@TableField("createTime")
private Date createTime;
@TableField(exist = false)
private Boolean isSystem;
@TableField(exist = false)
private User fromUser;
}
|
- 值传输对象:
1
2
3
4
5
6
7
8
9
10
11
12
13
14
15
16
17
18
19
20
21
22
23
24
25
26
27
28
29
30
31
32
33
34
35
36
37
38
39
40
41
42
43
44
45
46
47
48
49
50
51
52
53
54
55
56
57
58
59
60
61
62
63
64
65
66
67
68
| package com.wolfman.wolfchat.vo;
import lombok.Data;
@Data
public class Result {
private boolean flag;
private String message;
private Object data;
private Result(Object data) {
this.flag = true;
this.message = "success";
this.data = data;
}
private Result(String message, Object data) {
this.flag = true;
this.message = message;
this.data = data;
}
private Result(String message) {
this.flag = false;
if (message == null) {
return;
}
this.message = message;
}
public static Result success(Object data) {
return new Result(data);
}
public static Result success(String message, Object data) {
return new Result(message, data);
}
public static Result error(String message) {
return new Result(message);
}
@Override
public String toString() {
return "Result{" +
"flag=" + flag +
", message='" + message + '\'' +
", data=" + data +
'}';
}
}
|
主要实现
主要使用websocket完成,通过前后端分别实现websocket的几个关键方法,即可实现交互。关键方法有:
- onOpen,当连接建立时,调用此方法
- onMessage,当消息发送时,调用此方法
- onClose,当连接断开时,调用此方法
- onError,当链接错误时,调用此方法
通过配合以上方法,即可实现简易的即时通讯系统。
后台实现
引入webSocket坐标
1
2
3
4
5
| <!-- websocket -->
<dependency>
<groupId>org.springframework.boot</groupId>
<artifactId>spring-boot-starter-websocket</artifactId>
</dependency>
|
配置webSocket
1
2
3
4
5
6
7
8
9
10
11
12
13
14
15
16
17
18
19
20
21
22
23
24
25
26
27
28
29
30
31
32
33
34
35
36
37
38
39
40
41
| package com.wolfman.wolfchat.config;
import com.wolfman.wolfchat.component.WebSocketServer;
import com.wolfman.wolfchat.service.MessageService;
import com.wolfman.wolfchat.service.UserService;
import org.springframework.context.annotation.Bean;
import org.springframework.context.annotation.Configuration;
import org.springframework.web.socket.server.standard.ServerEndpointExporter;
import javax.annotation.Resource;
@Configuration
public class WebSocketConfig {
@Resource
UserService userService;
@Resource
MessageService messageService;
@Bean
public ServerEndpointExporter serverEndpointExporter() {
return new ServerEndpointExporter();
}
@Bean
public void setBeanList() {
WebSocketServer.userService = userService;
WebSocketServer.messageService = messageService;
}
}
|
配置文件中除了注入了ServerEndpointExporter外,还注入了两个service,用于我们之后对消息的持久化。
实现ServerEndpointExporter
我们需要实现一个带@ServerEndpoint注解的类,之后该类会自动注入到spring容器中。主要实现为:
1
2
3
4
5
6
7
8
9
10
11
12
13
14
15
16
17
18
19
20
21
22
23
24
25
26
27
28
29
30
31
32
33
34
35
36
37
38
39
40
41
42
43
44
45
46
47
48
49
50
51
52
53
54
55
56
57
58
59
60
61
62
63
64
65
66
67
68
69
70
71
72
73
74
75
76
77
78
79
80
81
82
83
84
85
86
87
88
89
90
91
92
93
94
95
96
97
98
99
100
101
102
103
104
105
106
107
108
109
110
111
112
113
114
115
116
117
118
119
120
121
122
123
124
125
126
127
128
129
130
131
132
133
134
135
136
137
138
139
140
141
142
143
144
145
146
147
148
149
150
151
152
153
| package com.wolfman.wolfchat.component;
import com.alibaba.fastjson.JSON;
import com.wolfman.wolfchat.annotation.NeedAuthentication;
import com.wolfman.wolfchat.po.Message;
import com.wolfman.wolfchat.po.User;
import com.wolfman.wolfchat.service.MessageService;
import com.wolfman.wolfchat.service.UserService;
import org.springframework.stereotype.Component;
import javax.websocket.*;
import javax.websocket.server.PathParam;
import javax.websocket.server.ServerEndpoint;
import java.io.IOException;
import java.util.*;
import java.util.concurrent.ConcurrentHashMap;
@Component
@ServerEndpoint(value = "/wolfchat/{userId}")
public class WebSocketServer {
public static final Map<Integer, Session> sessionMap = new ConcurrentHashMap<>();
public static final Map<Integer, User> userMap = new ConcurrentHashMap<>();
public static UserService userService;
public static MessageService messageService;
@OnOpen
@NeedAuthentication
public void onOpen(Session session, @PathParam("userId") Integer userId) throws IOException {
User user = userService.selectByUserId(userId);
if (user == null) {
return;
}
userMap.put(userId, user);
sessionMap.put(userId, session);
sendMessageToAll();
}
@OnClose
@NeedAuthentication
public void onClose(@PathParam("userId") Integer userId) throws IOException {
userMap.remove(userId);
sessionMap.remove(userId);
sendMessageToAll();
}
@OnMessage
@NeedAuthentication
public void onMessage(String content) throws IOException {
Message message = JSON.parseObject(content, Message.class);
User u = userService.selectByUserId(message.getToUserId());
if (u == null) {
return;
}
message.setIsSystem(false);
message.setCreateTime(new Date());
messageService.save(message);
Session targetSession = sessionMap.get(message.getToUserId());
if (targetSession == null) {
return;
}
User fromUser = userMap.get(message.getFromUserId());
HashMap<String, Object> map = new HashMap<>(2);
map.put("fromUser", fromUser);
map.put("message", message.getMessage());
message.setMessage(JSON.toJSONString(map));
sendMessageToOne(message, targetSession);
}
@OnError
@NeedAuthentication
public void onError(Throwable error) {
error.printStackTrace();
}
private void sendMessageToAll() throws IOException {
List<User> userList = new ArrayList<>(userMap.values());
Message message = new Message();
message.setIsSystem(true);
message.setMessage(JSON.toJSONString(userList));
for (Session session : sessionMap.values()) {
sendMessageToOne(message, session);
}
}
private synchronized void sendMessageToOne(Message message, Session targetSession) throws IOException {
targetSession.getBasicRemote().sendText(JSON.toJSONString(message));
}
}
|
@ServerEndpoint(value = "/wolfchat/{userId}")注解的value值,指明了之后前端需要建立连接时的链接,可附带参数变量。
前台实现
前台实现要比后台麻烦很多,需要各种判断。
建立连接
建立连接非常简单,new 一个WebSocket对象即可,参数就是目标链接:
1
2
| let socketUrl = "ws://localhost:8888/wolfchat/" + this.currentUser.id;
this.socket = new WebSocket(socketUrl);
|
接下来便是一系列的消息处理:
1
2
3
4
5
6
7
8
|
this.onopen();
this.onmessage();
this.onclose();
this.onerror();
|
消息处理
以下是各个消息处理的实现:
一、onopen()
1
2
3
4
5
6
| onopen() {
this.socket.onopen = function () {
console.log("websocket已打开");
};
},
|
二、onclose()
1
2
3
4
5
6
| onclose() {
this.socket.onclose = function () {
console.log("websocket已关闭");
};
},
|
三、onerror()
1
2
3
4
5
6
| onerror() {
this.socket.onerror = function () {
console.log("websocket发生了错误");
}
},
|
四、onmessage()
1
2
3
4
5
6
7
8
9
10
11
12
13
14
15
16
17
18
19
20
21
22
23
24
25
| onmessage() {
let _this = this;
this.socket.onmessage = function (message) {
message = JSON.parse(message.data)
if (message.isSystem) {
_this.addUserList(JSON.parse(message.message));
} else {
_this.updateLatestMessage(message);
message = JSON.parse(message.message)
if (message.fromUser.id === _this.targetUser.id) {
_this.messageList.push(message);
}
_this.scrollToBottom();
}
};
},
|
在此方法中,需要判断当前接收到的消息是广播消息,还是单播消息。
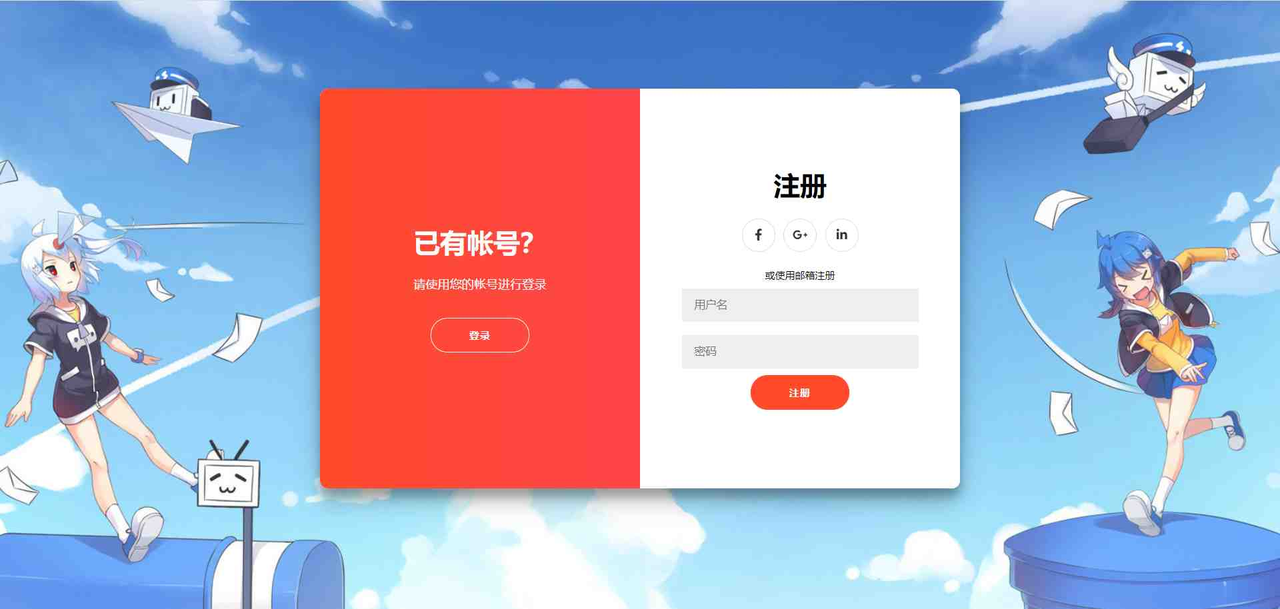
效果演示
一、注册界面
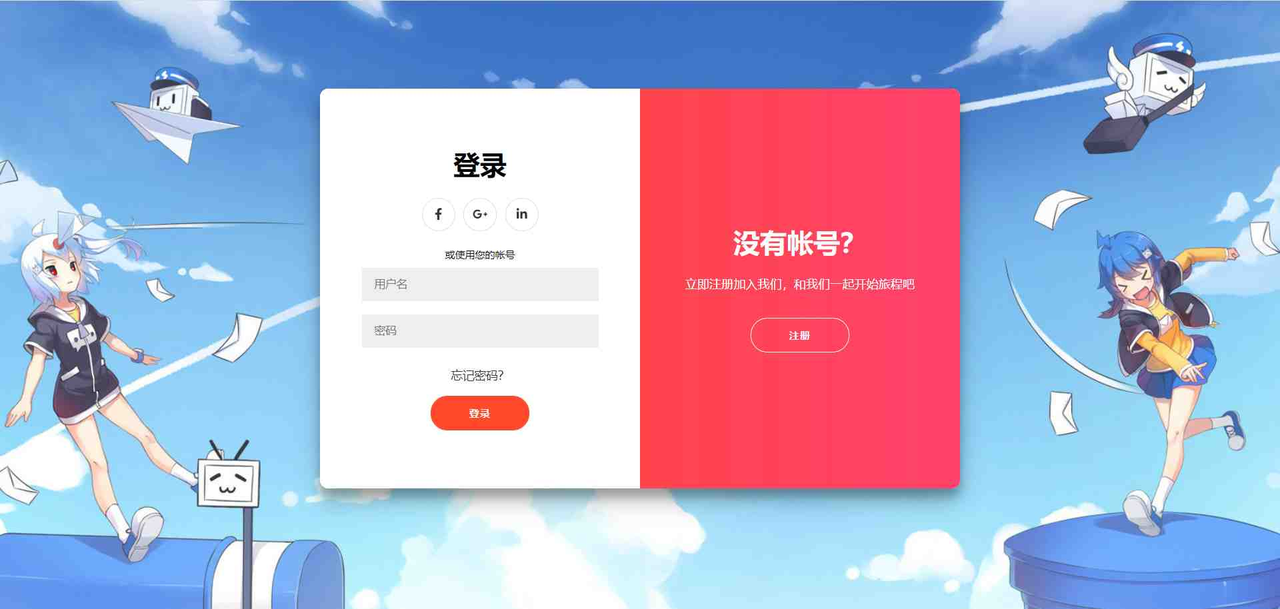
二、登录界面
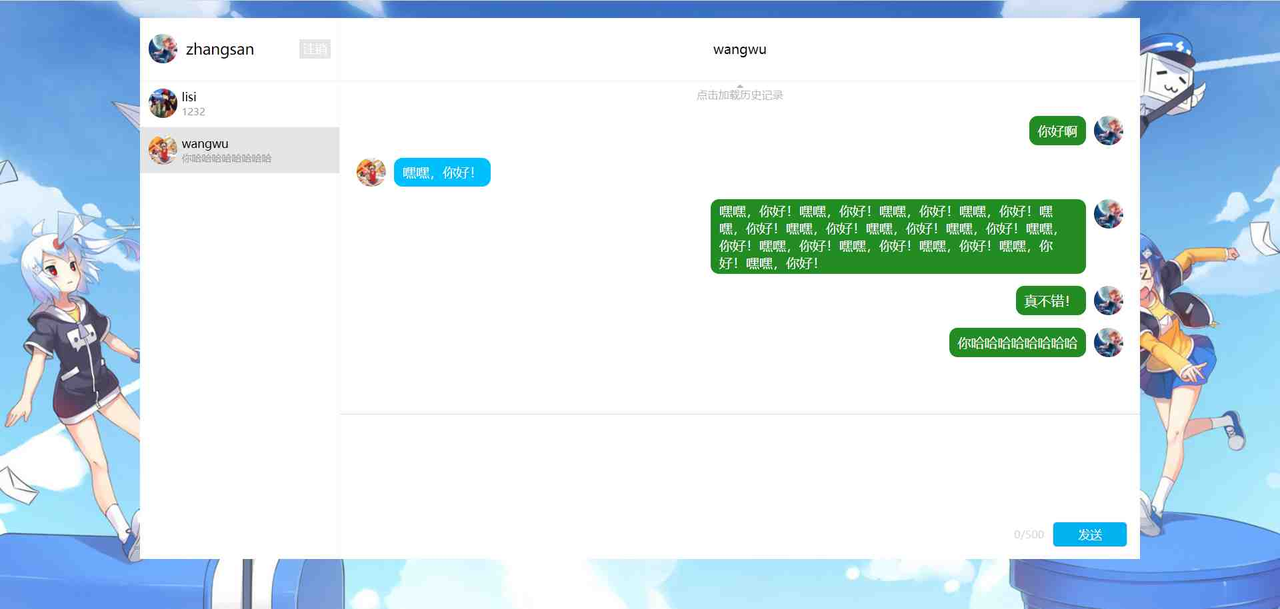
三、聊天界面
写在最后
写完后读了一遍,我讲的啥玩意儿😥😥,希望谅解谅解,感谢你能看到最后,最后附上源码,一句话——All in the code
前台代码:简易版即时通讯系统-前台代码
后台代码:简易版即时通讯系统-后台代码
参考链接: